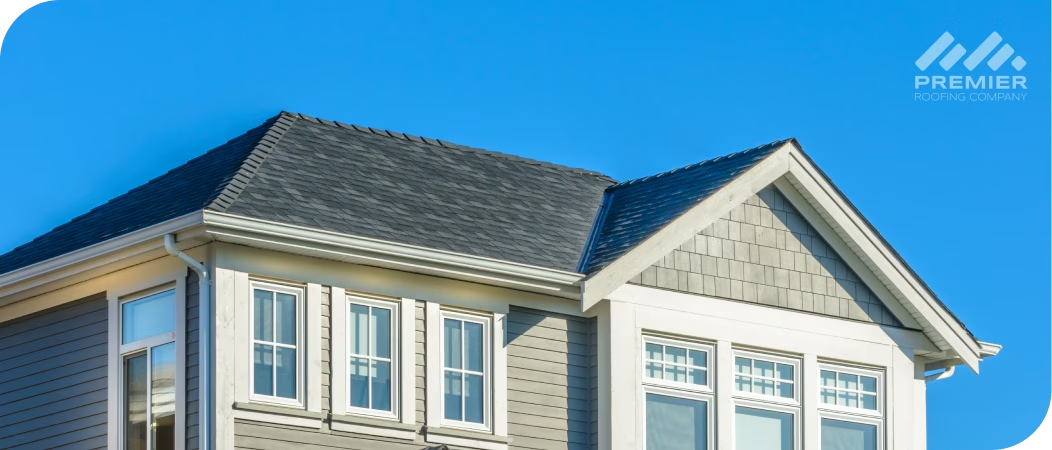
The roofing process involves more than simply installing new shingles. A complete roof replacement process includes inspection, material selection, structural preparation, installation, and final system verification. Each step must be performed correctly to ensure the roof protects the home from weather, moisture intrusion, and long-term structural damage.
Understanding the roofing process helps homeowners know what to expect before work begins. It also allows you to evaluate contractors based on how clearly they explain each stage of the roof replacement process. When installation follows a structured process, the roofing system performs more reliably and lasts longer under real-world conditions.
If you're ready to start, schedule a roof inspection with us to receive a clear breakdown of the roof replacement process and what your project would involve.
TL;DR: What Does the Roofing Process Include?
The roofing installation process involves far more than simply placing new shingles on top of an existing roof. A full roof replacement rebuilds the entire protective system that shields your home from weather, moisture, and temperature fluctuations.
Understanding what is included in a roof replacement helps homeowners recognize why the process involves multiple stages. These stages ensure the roof deck is structurally sound, moisture barriers are properly installed, and ventilation components are functioning correctly.
A typical roof replacement process includes several core phases:
- Property protection and preparation
- Tear-off and removal of old roofing materials
- Inspection and repair of the roof deck
- Installation of leak barriers and underlayment
- Placement of shingles or other roofing materials
- Flashing installation and ventilation detailing
- Final cleanup and walkthrough inspection
Each phase builds on the previous one to restore the roofing system from the structural base outward. When these steps are completed properly, the result is a roof designed to manage water flow, regulate attic airflow, and withstand environmental stress.
Understanding the roofing installation process helps homeowners feel more confident about what will happen during their project and why each step matters.
Table of Contents
Why Homeowners Start Thinking About Roof Replacement
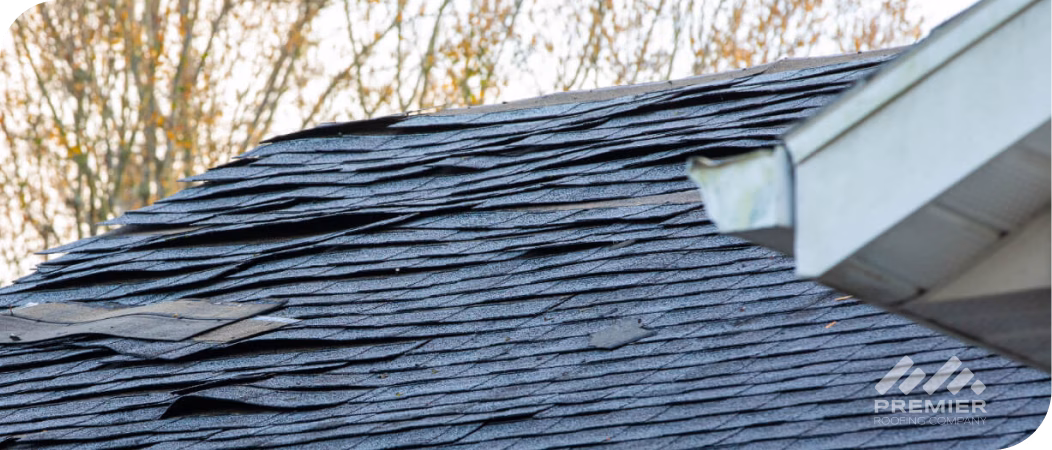
For many homeowners, the roofing process begins when small concerns start appearing repeatedly. Roof deterioration often develops gradually, and subtle warning signs may appear long before major problems become visible.
Gradual indicators include curling shingles, repeated minor repairs, or granules collecting in gutters. These patterns often signal system aging rather than isolated damage. Over time, shingles lose flexibility and adhesive seals weaken, making the roof more vulnerable to wind and moisture.
Sudden triggers for getting a new roof often follow severe weather events. Hail can bruise shingles beneath the surface, weakening their internal structure even when the damage appears minor from the ground. Strong winds may also loosen shingles across multiple slopes.
Interior signs can create greater urgency. Water stains on ceilings or moisture inside the attic often indicate that water has already moved beyond the outer roofing layer.
For many homeowners, getting a new roof becomes the logical next step when aging materials, storm damage, or inspection findings indicate that repairs are no longer sufficient.
What's Included in a Roof Replacement?
Before exploring the roof replacement steps, it helps to understand how a roofing system functions as a series of protective layers.
- At the base of the system is the roof deck, which provides structural support for the entire roof. During the tear-off stage of the roof replacement process, old materials are removed so the deck can be inspected for moisture damage or structural weakness.
- Once the deck is confirmed to be solid and dry, moisture-control layers are installed. These typically include leak barriers and synthetic underlayment designed to prevent water intrusion beneath the shingles.
- Surface materials, such as asphalt shingles, metal panels, or tile, form the visible protective layer. These materials shed water away from the roof and protect the underlying structure from weather exposure.
- Ventilation components are also an essential part in a roof replacement. Proper airflow allows heat and moisture to escape from the attic, which helps protect insulation and extend the lifespan of roofing materials.
In essence, the roof replacement process rebuilds the roofing system layer by layer rather than simply installing new shingles.
The Roof Replacement Process Step by Step
The roofing process step by step follows a controlled sequence designed to rebuild the roofing system from the structural base outward.
Each stage depends on the successful completion of the previous one. This structured approach ensures the roof deck is sound, moisture barriers are properly installed, and surface materials are secured according to manufacturer specifications.
Understanding the step by step roofing process helps homeowners recognize why experienced contractors follow a precise installation order. Skipping stages or rushing the process can compromise the long-term durability of the roofing system.
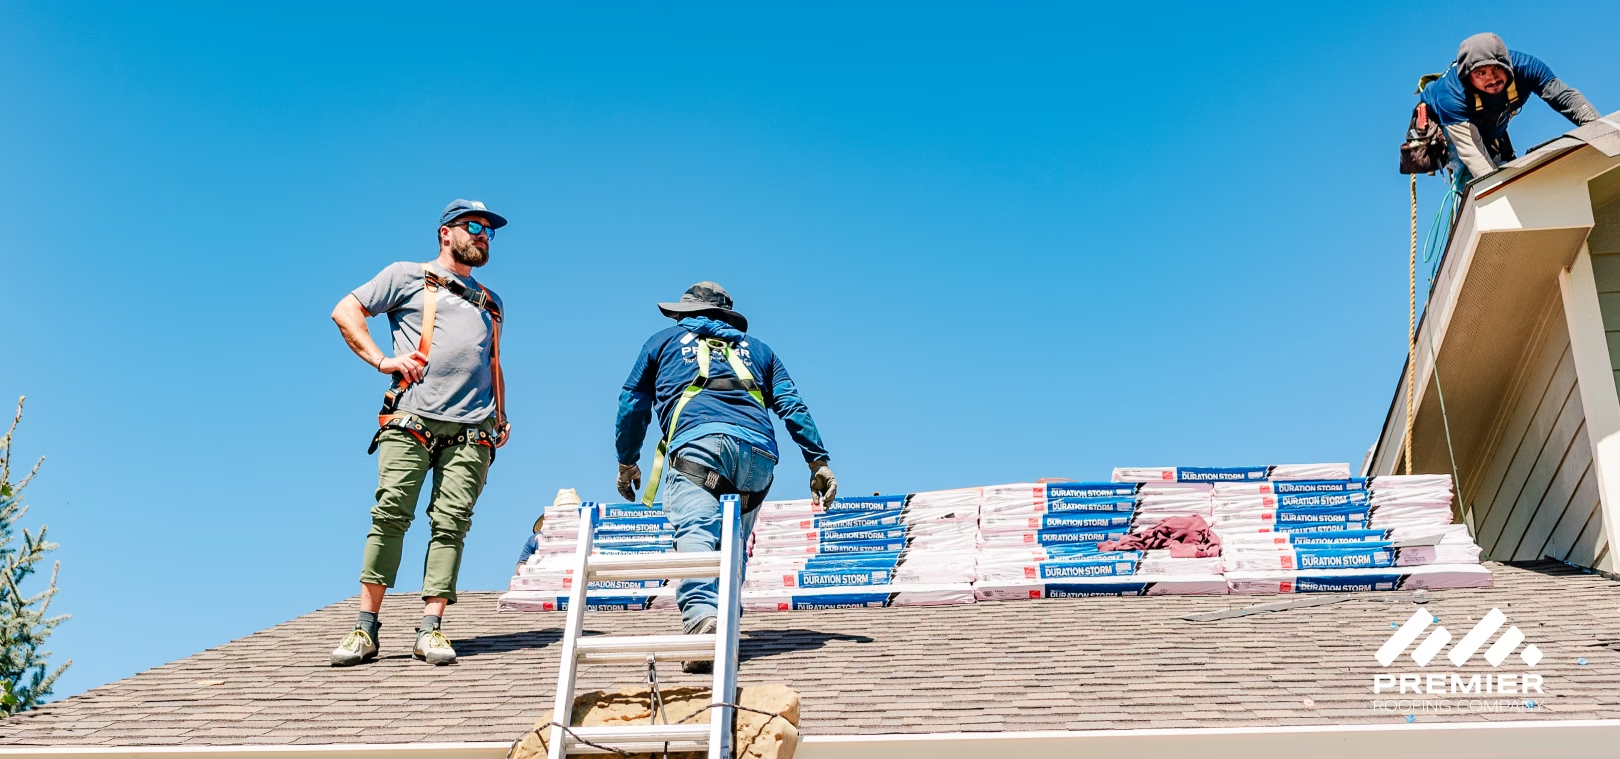
Step 1: Protecting Your Property Before Work Begins
The roofing installation process begins before the first shingle is removed. Contractors take steps to protect the surrounding property and create a safe work environment.
Landscaping, flower beds, and outdoor fixtures are typically covered with protective tarps. Debris zones are established to control where materials will fall during the tear-off stage. Walkways, windows, and siding may also be shielded from falling debris.
These preparations help prevent accidental damage and keep the work area organized throughout the project.
Step 2: Removal of Old Roof and Deck Inspection
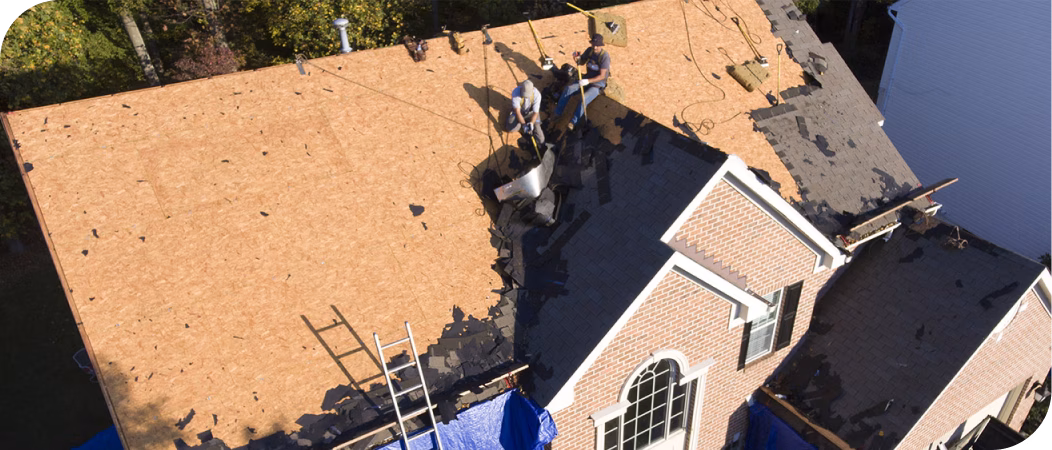
One of the most important roof replacement steps is the removal of the existing roofing materials. This tear-off stage exposes the roof deck beneath the shingles.
Once the deck is visible, contractors inspect it for moisture stains, soft spots, or delamination. Damaged decking must be repaired or replaced before new materials are installed.
Validating the deck condition is a critical step in the roof replacement process. Installing new shingles over compromised decking can weaken the entire roofing system.
Step 3: Install Leak Barrier and Deck Protection
After the roof deck is approved, protective layers are installed. These layers create the hidden moisture defenses that protect the roof from water intrusion.
Ice and water shields are typically placed along vulnerable areas such as roof valleys, eaves, and penetrations. Synthetic underlayment is then installed across the rest of the roof deck. This stage of the new roof installation process restores the moisture-control system beneath the shingles and helps prevent leaks if water penetrates the surface layer.
Step 4: Install New Shingles or Roofing Material
With the base layers in place, contractors begin installing the visible roofing material. For most residential homes, this means asphalt shingles, although metal and other materials may also be used.
Shingles are installed using specific fastening patterns designed to improve wind resistance. Proper alignment ensures that water flows correctly across the roof surface. Valleys, ridge caps, and transitions are carefully sealed to protect areas where water flow changes direction.
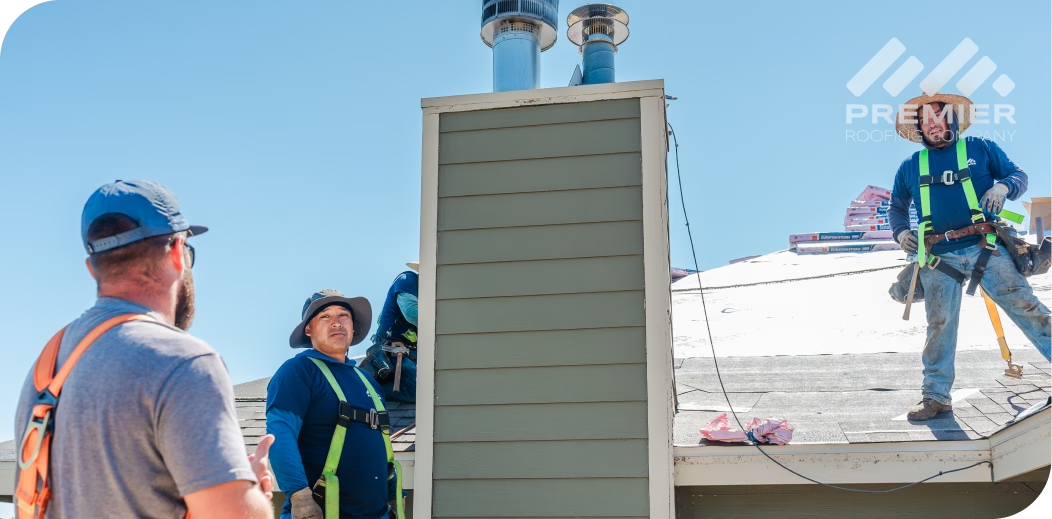
Step 5: Flashing, Ventilation, and Detail Work
Flashing and ventilation components are essential finishing elements in the roof installation process.
Flashing is installed around chimneys, skylights, vents, and wall intersections. Its purpose is to direct water away from seams and prevent leaks in areas where roofing materials meet vertical structures. Ventilation components allow warm, moist air to escape from the attic while drawing in cooler air from intake vents. Balanced airflow prevents heat buildup and condensation.
This stage of the roof replacement process helps ensure the roof system performs efficiently for years to come.
Step 6: Cleanup and Property Restoration
Cleanup is a structured and important part of the overall roofing steps.
After installation is complete, crews remove debris, leftover materials, and protective coverings. Magnetic tools are used to sweep the yard for stray nails, and gutters or staging areas are cleared of roofing debris. The goal is to restore the property to its original condition while ensuring the area is safe for homeowners and visitors.
How Long Does the Roof Installation Process Take?
The timeline for the roof installation process depends on several factors, including roof size, roof pitch, material type, and weather conditions.
Many residential roof replacements can be completed in one to two days. However, larger homes, complex rooflines, or unexpected structural repairs may extend the timeline. One of the most common factors that affects the schedule is roof deck condition. If damaged decking is discovered during tear-off, repairs must be completed before new materials are installed.
Although these repairs may extend the timeline slightly, they ensure the roof replacement process produces a structurally sound result.
Roof Inspection After Installation
A roof inspection after installation confirms that the roofing system has been installed correctly and is ready to perform as intended.
During the inspection, contractors review shingle alignment, fastening patterns, flashing seals, and ventilation placement. The roof surface is checked for consistency, and the surrounding property is inspected to ensure all debris has been removed.
This final walkthrough allows homeowners to review the completed work and ask any remaining questions about their new roof.
Get a Professional Roof Evaluation
Choosing repair when replacement is required can lead to ongoing problems and higher long-term costs. On the other hand, replacing a roof prematurely may not always be necessary. Clear inspection findings allow homeowners to move forward with confidence before beginning the roof replacement process.
If you would like a professional assessment of your roof, schedule an inspection with Premier Roofing.
Frequently Asked Questions

BLOG
Premier Roofing & The Press

Top Roofing Companies in Wichita: 2026 Guide
A lot of homeowners in Wichita end up replacing their roof sooner than expected, not because it was necessary, but because the damage wasn’t properly assessed early on. It happens more often than people think. If you’re searching ...

9 Best Roofing Companies in Kansas City: 2026 Guide
Most people don’t search for the best roofing companies in Kansas City until something goes wrong. A leak shows up after a storm. Shingles end up in the yard
How to Choose a Roofer in St. Louis
Finding the right roofer isn’t just a box to check off. It’s one of the most important decisions you’ll make as a homeowner in St. Louis. Between Missouri’s unpredictable storms, intense summer heat, and strict local codes, your roofing system needs more than just an ordinary contractor. Your roof needs a proven expert. One poor roofing installation or missed code compliance can result in expensive repairs, water damage, or insurance claims down the road.